
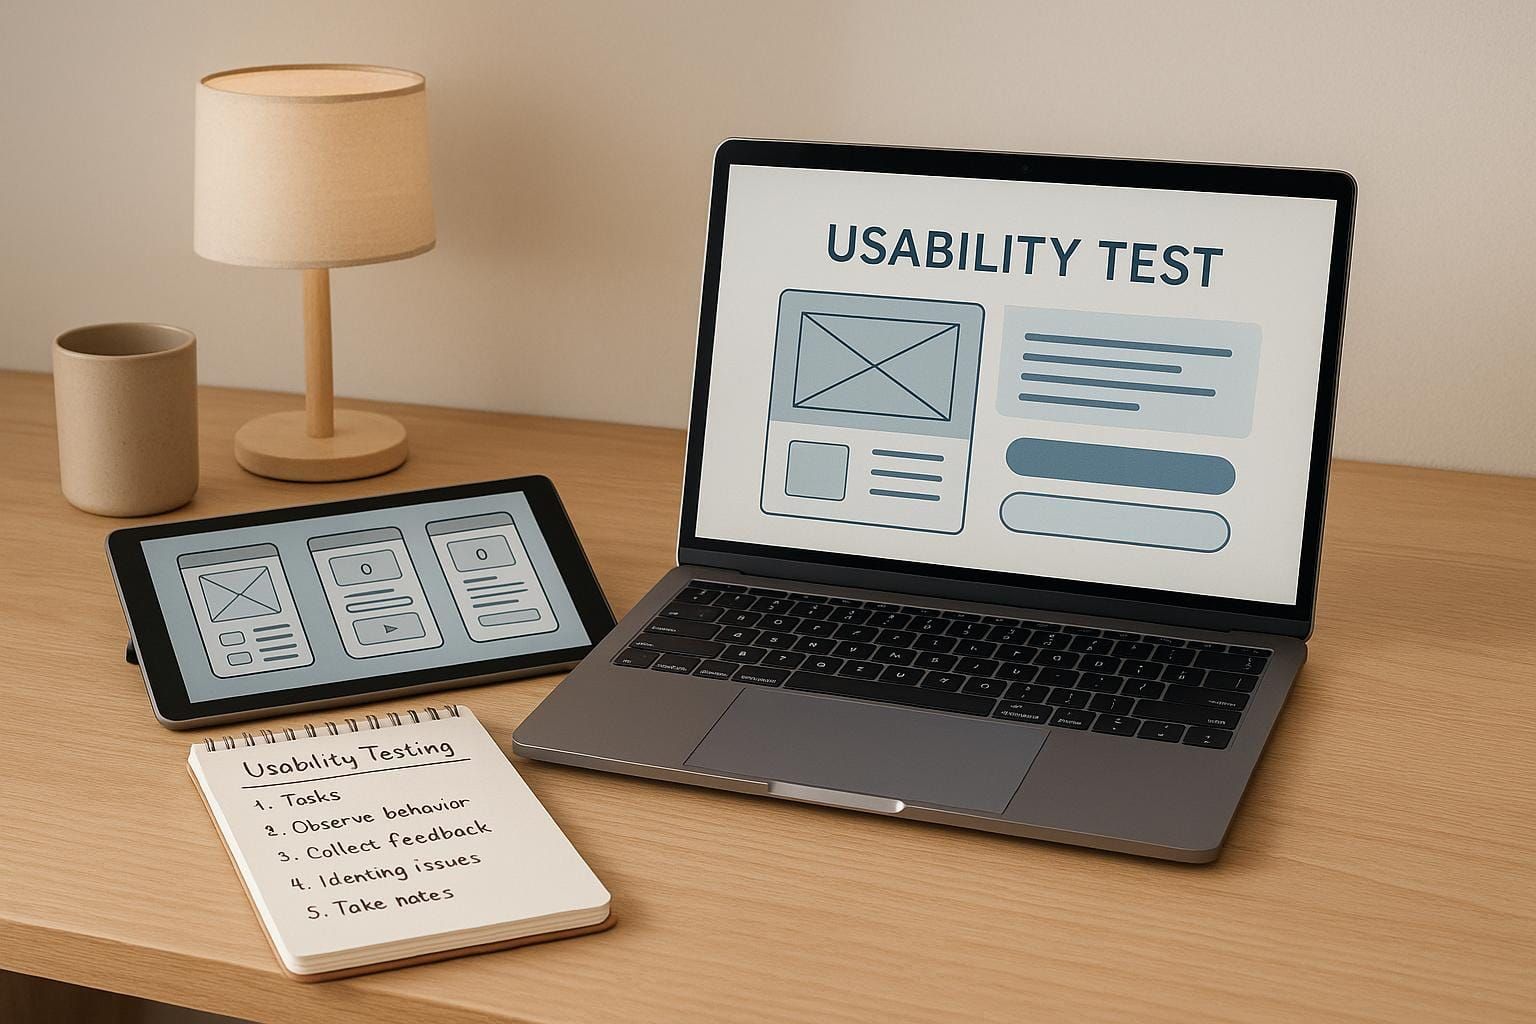
5 Steps To Run Moderated Usability Tests
Learn how to conduct effective moderated usability tests in five simple steps to enhance user experience and streamline product design.
Moderated usability testing is a hands-on approach where a moderator guides participants through tasks in real-time to identify usability issues and improve user experience. It’s especially useful for complex products or early prototypes. Here’s a quick breakdown of the process:
- Plan Your Session: Define clear goals, choose between remote or in-person testing, and create a detailed roadmap.
- Find Participants: Recruit users that match your target audience, screen them carefully, and offer appropriate incentives.
- Design Tasks: Write realistic, goal-oriented tasks that reflect how users would naturally interact with your product.
- Run Sessions: Guide participants neutrally, encourage them to think aloud, and document observations thoroughly.
- Analyze Results: Organize data, identify patterns, prioritize issues, and create actionable recommendations.
Quick Overview
- Remote Testing: Offers flexibility and broader reach but may miss non-verbal cues.
- In-Person Testing: Provides richer behavioral insights but requires more resources.
Following these steps ensures you gather actionable insights to refine your product effectively.
Step 1: Plan Your Testing Session
Effective moderated usability testing begins with careful planning. This step lays the groundwork for gathering meaningful insights and helps avoid vague or inconclusive results. The process involves three main components: defining clear objectives, organizing logistics, and crafting a detailed testing roadmap.
Set Goals and Research Questions
Start by establishing clear, measurable goals for your testing session. These goals should align with both user needs and business priorities, ensuring your findings directly impact design decisions. For example, instead of a broad goal like "improve the user experience", focus on something specific, such as "identify obstacles preventing users from completing the checkout process" or "evaluate whether the new navigation structure reduces task completion time."
Your research questions should also be specific and actionable. Examples include: "Can users complete the checkout process without assistance?" or "At what points do users get confused by the navigation?" These targeted questions keep your test focused and ensure the results lead to actionable improvements.
Tailor your objectives to the product's development stage. Early-stage testing might focus on validating concepts, while later stages could examine usability issues or assess performance improvements. Clearly document these objectives and share them with stakeholders to align expectations and avoid scope creep during testing.
Plan Logistics and Resources
Logistics planning provides the practical framework for your testing sessions. One of the first decisions you'll need to make is whether to conduct remote or in-person testing. This choice depends on factors like participant location, the type of product being tested, available resources, and the insights you're looking to gain.
Remote testing is ideal for digital products, allowing you to include participants from various time zones across the U.S. It's particularly useful for testing web applications, mobile apps, or software interfaces. On the other hand, in-person testing is better suited for observing physical interactions, body language, or hands-on use of tangible products.
Selecting the right tools is essential. For remote sessions, you'll need reliable video conferencing software with screen-sharing and recording capabilities, as well as efficient methods for taking notes.
When scheduling sessions, consider participant availability, and include buffer time for setup and debriefing. Budget for participant incentives (typically $50–$150 per session), software subscriptions, travel costs, and the time required for moderators and support staff.
Prepare a technical checklist to test equipment, internet connectivity, and backup plans at least 24 hours before the sessions. This ensures everything runs smoothly on the testing day.
Create a Testing Plan
A well-thought-out testing plan is critical for maintaining consistency across sessions. This plan should detail participant criteria, session structure, scripts, consent forms, and evaluation metrics.
Communicate expectations clearly to participants, including logistical details and confidentiality agreements. Let them know they can withdraw at any time and that their feedback is meant to improve the product - not to evaluate their personal abilities.
Develop a moderator script that includes a warm welcome, task instructions, prompts for think-aloud feedback, and debriefing questions. Moderators should remain neutral and avoid influencing participants' responses.
Use simple consent forms that cover recording permissions, data usage, confidentiality, and participant rights.
Define evaluation metrics such as task completion rates, error frequencies, time-on-task, and satisfaction scores to capture both quantitative and qualitative data. Ensure your participant pool reflects the diversity of your user base to gather insights that are widely applicable.
Finally, conduct a pilot test to identify any issues with your script, technology, or timing before the actual sessions begin.
| Planning Element | Key Considerations |
|---|---|
| Goals & Research Questions | Specific, measurable objectives tied to business needs |
| Logistics & Resources | Format choice, tool requirements, scheduling, budgeting, and technical setup |
| Testing Plan | Session scripts, consent forms, evaluation metrics, and pilot testing |
Investing time in thorough planning ensures you avoid common pitfalls like unclear objectives, technical glitches, or inconsistent data. This preparation lays the foundation for successful participant recruitment, which is the next step in the process.
Step 2: Find the Right Participants
Getting the right participants is the backbone of collecting useful insights. Your results will only be as good as the people you recruit, so it’s crucial to find participants who genuinely represent your target audience. This process boils down to three main tasks: defining clear user profiles, recruiting effectively, and screening candidates while offering appealing incentives.
Define Target User Profiles
Start by crafting user profiles that reflect your actual audience. These profiles should go beyond basic demographics like age, gender, and location. Dig deeper into behaviors, preferences, and needs. For instance, if you’re testing a financial app in the U.S., you might focus on users aged 25–45 who actively manage their budgets and prefer mobile banking over traditional methods.
It’s also important to account for diversity. Think about accessibility needs and different market segments. For example, a healthcare app could benefit from testing with participants who have varying levels of tech experience or physical abilities. This approach helps uncover usability challenges that might otherwise go unnoticed.
Base your profiles on real data - not assumptions. Dive into customer support tickets, user surveys, and behavioral analytics to identify common pain points and usage patterns. This information will guide your recruitment and help you create screening questions that lead to meaningful feedback.
Recruitment Methods and Channels
To reach a diverse group of participants, use a mix of recruitment channels. Platforms like UserTesting and Respondent.io can connect you with pre-screened U.S. participants. Social media platforms like LinkedIn, Facebook, and Twitter are also great for targeting specific groups or demographics. If you’re looking for specialized audiences, professional networks and industry groups - such as accounting associations for testing software aimed at accountants - can be invaluable.
If you already have a customer base, tap into your email lists or customer databases for recruitment. Just be mindful of balance: existing users may have different perspectives than new ones. Remote testing can also help you include participants from different U.S. regions and time zones, which might reveal location-specific preferences or challenges.
Screen Participants and Set Incentives
Screening is essential to ensure your participants fit the profiles you’ve defined. Use a questionnaire to focus on product familiarity, experience, and demographics. Ask specific questions like, “How often do you use mobile banking apps?” or “What challenges do you face when managing your personal budget online?” Avoid vague questions that don’t offer much insight.
Be cautious about participants who might skew your results. For example, exclude those working in UX design or market research, as their feedback might not reflect typical user behavior. Also, avoid recruiting people who have recently participated in similar studies - they might be overly familiar with the process.
When it comes to incentives, offer amounts that match the session length and participant expertise. For general consumers, a 60-minute session might warrant a $75 gift card, while specialized professionals could require $150 or more. Be clear about the incentive - whether it’s a gift card or a direct payment via PayPal or Venmo - and communicate this upfront to encourage participation and reduce no-shows. Confirm details 24 hours before the session to minimize last-minute cancellations.
Don’t forget to get explicit consent for participation, recording, and data usage. Use easy-to-understand consent forms that explain how recordings and data will be handled, as well as participants’ rights to withdraw at any time. For U.S.-based studies, ensure you comply with relevant privacy laws and your company’s data policies.
Before recruiting participants, run a pilot test with a colleague or team member. This will help you refine your screening process, identify gaps, and confirm that your criteria effectively filter for the right participants.
DeveloperUX emphasizes that aligning your participant selection with the product’s target audience and business goals is critical. Their UX Master Course recommends using detailed personas, diverse recruitment methods, and thorough screening to ensure participants reflect real-world users. This leads to feedback that’s both relevant and actionable.
Aim for 5–8 participants per user segment. This strikes a balance between cost and the ability to uncover most usability issues. With a well-screened and incentivized participant pool, you’ll be ready to move on to designing focused testing tasks in the next step.
Step 3: Create Testing Tasks
Once you've successfully recruited participants, the next step is to design tasks that feel natural and realistic. These tasks should help uncover genuine usability issues without steering participants toward specific solutions. The goal is to observe how people truly interact with your product in a way that reflects their real-world behavior.
Write Clear and Realistic Scenarios
The best testing scenarios mirror everyday situations users might encounter. Instead of explicitly instructing participants to "click the search button", frame the task around a relatable need: "You're shopping for a winter jacket under $100. Show me how you'd go about finding one." This approach encourages organic exploration and provides insight into how users naturally engage with your product.
Focus on the user's goal rather than hinting at the solution. For example, instead of saying, "Add this item to your wishlist", you could say, "You've found something you like but aren’t ready to buy it right now. What would you do next?" This lets participants approach the task in their own way, offering a more accurate view of your product's usability.
Keep tasks focused on a single primary action to avoid overwhelming participants. For instance, if you're testing an e-commerce platform, separate the product search process from the checkout experience by creating distinct scenarios for each. This makes it easier to identify specific pain points.
Add context to your scenarios to make them feel more realistic. For a banking app, instead of a generic task like "Transfer money between accounts", you could say, "You need to move $500 from your savings account to your checking account to cover your rent payment. How would you do that?" This added detail makes the task more relatable and helps simulate a real user experience.
Use straightforward, conversational language that matches how your users talk. Avoid technical terms or product-specific jargon that could confuse participants. The goal is to test whether your interface communicates effectively with everyday users, not just those familiar with your field.
Order Tasks Logically
Arrange tasks in a way that feels intuitive, starting with simpler actions and gradually moving to more complex ones. For example, if you're testing a social media app, you might begin with basic navigation, like viewing a profile, before progressing to tasks such as creating a post or adjusting privacy settings.
Avoid jumping abruptly between unrelated tasks, as this can disrupt participants' focus and skew results. Instead, group related tasks together or follow a logical sequence that mirrors a typical user journey.
Think about how tasks might build on one another. For example, on an e-commerce site, finding a product naturally comes before adding it to a cart. However, keep in mind that struggles with earlier tasks, like navigation, could influence participants' performance on subsequent ones.
Maintain a balance in task complexity throughout the session. Mixing easier tasks with more challenging ones helps keep participants engaged and prevents fatigue. Ending with moderately challenging tasks, rather than the most difficult ones, can leave participants with a positive impression of the session.
By structuring tasks to align with real-world workflows, you can create a smoother and more effective testing experience. Once your tasks are in place, the next step is to prepare moderator scripts that ensure consistency and neutrality.
Write Moderator Scripts
A well-thought-out moderator script is key to delivering clear instructions and maintaining consistency across all testing sessions. It helps ensure participants aren't influenced by the moderator’s guidance, keeping the focus on their natural behavior.
Start each task with neutral, context-setting instructions. For example: "Imagine you’re planning a weekend getaway and need to book a hotel room. Please think out loud as you show me how you’d do that." This sets the stage without leading participants toward a specific action.
Encourage participants to verbalize their thoughts throughout the session with "think aloud" prompts. Questions like "What are you thinking right now?" or "Can you tell me what you're looking for?" can help uncover the reasoning behind their actions.
Prepare standard responses for common participant questions to avoid unintentionally influencing their behavior. For instance, if someone asks, "Should I click here?" or "Am I doing this right?" you might respond with, "What do you think you should do?" This approach encourages users to trust their instincts.
Include follow-up questions that dig deeper into user motivations and expectations. After a task, you could ask, "What did you expect to happen next?" or "Was there anything about that step that felt unclear?" These questions can help identify specific pain points and provide valuable insights into the user experience.
Practice your script beforehand to ensure smooth delivery during the session. This allows you to maintain a conversational tone while covering all the important points and focusing on observing participant behavior.
DeveloperUX highlights that well-crafted tasks should feel like natural goals for users, not artificial exercises. Their UX Master Course emphasizes that realistic scenarios and unbiased language lead to more authentic insights into user behavior.
Since earlier planning steps covered pilot testing, make sure your finalized tasks and scripts align with those initial recommendations. Document any changes and ensure all moderators are on the same page to maintain consistency across sessions.
With clear tasks and a structured script, you're ready to run moderated sessions and gather meaningful feedback from users.
Step 4: Run the Moderated Session
Running a moderated session effectively requires clear guidelines, impartial facilitation, and sharp observation. How you conduct the session directly influences the quality of insights you gather and the authenticity of user behavior.
Set Up and Build Rapport
Creating a comfortable environment is key to productive testing. Whether you're in a physical or virtual setting, prepare the space to eliminate distractions and ensure privacy. Test your equipment beforehand to avoid technical hiccups, and always have a backup plan in place.
When participants join, greet them warmly and engage in light conversation to help them relax. This isn’t just polite - it helps reduce tension, allowing participants to act more naturally.
Explain the purpose of the session clearly, emphasizing that the goal is to evaluate the product, not the participant’s abilities. Many participants worry about being judged, so reassure them by saying something like, "We’re here to learn how to improve this product, and your honest feedback - even frustrations - are incredibly valuable."
Set expectations by outlining the session’s structure and duration. Let participants know they can ask questions or take breaks whenever needed. This transparency fosters comfort and trust.
Before starting, obtain clear consent for recording and data collection. Once the atmosphere feels relaxed, shift your focus to guiding the tasks without interfering.
Guide the Session
After building rapport, your role transitions to that of a neutral observer and gentle guide. The challenge lies in collecting insights without influencing participants' behavior.
Stick to your prepared script to ensure consistency across sessions, but deliver it conversationally to avoid sounding robotic. Use neutral, open-ended prompts to encourage natural exploration. For example, instead of asking, "Do you like this feature?" try, "What are your thoughts on this?" or "Can you walk me through what you’re thinking right now?"
When participants encounter difficulties, resist the urge to assist. Observe silently, noting hesitations, facial expressions, and body language - these can reveal usability issues that participants might not articulate.
Encourage participants to think aloud by gently prompting them with questions like, "What do you expect to happen next?" or "Why did you choose to approach it this way?" If they fall silent, ask, "What’s going through your mind?"
Ask probing questions to dig deeper into their motivations. For instance, if someone expresses frustration with a task, ask why. Their response might uncover issues with design or navigation that aren’t immediately obvious.
If participants seek guidance - asking questions like, "Should I click here?" or "Am I doing this right?" - redirect them with prompts like, "What do you think you should do?" This approach keeps them in control while revealing their instincts and expectations.
Record and Document Insights
Detailed documentation is essential to ensure no valuable insights are lost. Combining real-time notes with recordings creates a comprehensive record for later analysis.
Use a structured note template to maintain consistency. Include sections for each task, note timestamps for key moments, and highlight areas of confusion, frustration, or positive feedback. This makes it easier to spot patterns across sessions.
Having a dedicated note-taker allows you to focus on moderating while ensuring all observations are captured. The note-taker should document verbal comments as well as non-verbal cues like pauses, tone changes, or mouse movements.
Tools like Looppanel can record sessions and streamline note organization. Always confirm participant consent before starting any recordings.
Categorize observations during the session with simple tags like "navigation issue", "positive reaction", or "terminology confusion." This preliminary organization saves time when analyzing data later.
After each session, hold a quick debrief with your note-taker to review observations while they’re still fresh. Discuss key takeaways, clarify any unclear notes, and identify potential improvements to the test script or setup for future sessions.
For example, during a moderated usability test of a time-stamped note-taking feature in Looppanel, participants were asked to take notes during a mock user interview. This realistic scenario uncovered usability challenges and specific user needs, leading to targeted product improvements.
Document recurring technical issues or participant questions, as these often highlight areas where your testing approach needs adjustment. Continuously refining your process ensures each session yields better insights. Proper documentation during the session lays the groundwork for a focused and effective analysis of usability findings.
Step 5: Analyze and Report Results
Once you've gathered all session data, the next step is to turn those insights into practical recommendations. This involves organizing your findings, spotting patterns, and presenting them in a way that drives meaningful change.
Organize and Review Data
Start by collecting all session materials - videos, audio recordings, notes, and feedback forms - and storing them in a secure, centralized location. Use a consistent folder structure to make it easy to find specific sessions or participant data later.
From there, consolidate your observations into a central system, such as spreadsheets or qualitative analysis tools. Focus on identifying key behaviors, pain points, and moments where participants seemed confused or hesitant. Be sure to note timestamps for specific issues. For example, if a participant struggles with navigation at a particular moment, record the exact time for easy reference when preparing your final report.
Group Insights and Prioritize Issues
Once individual sessions are reviewed, look for patterns across participants. Are there recurring behaviors, comments, or errors? Use tools like affinity mapping to visually cluster related observations - this could mean grouping similar notes on a digital board or using sticky notes to identify common themes.
For instance, if multiple users have trouble locating the checkout button, group those observations together. Pay special attention to issues that crop up repeatedly, as these often signal genuine usability challenges rather than isolated incidents.
To prioritize, assign severity ratings to each issue. Use categories like critical, major, or minor based on their impact. Critical issues - those that prevent task completion - should be addressed immediately, while major issues, which cause significant frustration, also deserve prompt attention.
Bring in stakeholders - designers, developers, and business leaders - to review and validate your prioritization. This collaborative process ensures your recommendations align with broader organizational goals. These prioritized insights will form the foundation of your final report.
Create a Report
Your report should include an executive summary, an overview of your methodology, key findings, and prioritized recommendations. Begin with a one-page summary highlighting the most critical issues and their potential business impact - this section is often the first (and sometimes only) part executives will read.
Use visuals like screenshots, annotated images, and charts to illustrate problem areas and provide context for your findings. Quotes from participants can add depth to your analysis, while visuals make your points easier to understand.
Tailor the report's detail to your audience. Designers and developers will appreciate in-depth findings and technical details, while executives typically prefer a high-level overview of trends and their business implications.
Go beyond identifying issues - recommend specific solutions. For example, if users struggle to find an "Add to Cart" button, suggest increasing its size, improving its contrast, and repositioning it above the product description. Where possible, include mockups or wireframes to illustrate your proposed changes.
Combine qualitative insights with quantitative data to give a well-rounded view of the usability challenges. End each section with actionable next steps and estimated timelines for implementing changes. This approach keeps teams focused on what matters most and helps streamline resource planning and scheduling.
Remote vs In-Person Moderated Testing
Choosing the right testing format is a critical decision that can shape the type of insights you gather. Whether you go with remote or in-person moderated testing, each option has its own strengths and challenges. Let’s break them down to help you decide which approach fits your needs.
Remote Testing: Benefits and Challenges
Remote moderated usability testing offers unmatched flexibility and reach. By removing geographical barriers, you can recruit participants from various regions without worrying about travel expenses or time zone conflicts. This makes it particularly effective for testing digital products like websites or apps, which users naturally interact with on their own devices.
For instance, a startup can test its e-commerce platform with participants from across the country in a matter of days. This approach not only saves time but also provides diverse perspectives, which is especially valuable for products aimed at a broad audience. Remote testing’s ability to tap into a geographically diverse user base often results in feedback that’s more representative of your target market.
However, it’s not without its hurdles. Technical issues like poor internet connectivity, screen-sharing glitches, or compatibility problems can derail sessions. Participants might also find testing tools confusing, so having backup plans is essential. Another challenge is maintaining participant engagement - distractions in home environments and higher dropout rates can be problematic.
Building rapport remotely is another hurdle. Without face-to-face interaction, it’s harder to pick up on subtle cues like hesitation or confusion, which may reveal usability problems. Non-verbal signals, such as body language or facial expressions, are often missed, making it more challenging to fully understand user behavior.
In-Person Testing: Benefits
In-person moderated testing excels at capturing the nuances of user behavior. Observing body language, facial expressions, and physical gestures can provide invaluable context when evaluating user reactions to your product. For example, a furrowed brow or a hesitant movement can signal frustration, even if the participant doesn’t verbalize it.
Another advantage is the controlled environment. By eliminating technical glitches and minimizing distractions, in-person testing ensures consistency across sessions, making it easier to identify trends and compare results. Face-to-face interaction also fosters natural rapport, encouraging participants to share honest and detailed feedback. When users sense genuine interest in their experience, they’re more likely to open up.
This format is particularly useful for testing complex products that require close observation. For instance, evaluating a medical device interface benefits from seeing how users physically interact with the controls and respond to design elements in real time. These insights are harder to capture in remote settings.
How to Choose the Right Format
The right testing format depends on your product, users, and goals. Start by considering the complexity of your product. Remote testing works well for identifying usability issues in digital products or testing user flows. On the other hand, in-person testing is better for exploratory research or understanding emotional responses through detailed behavioral observation.
Think about your user base. If your audience is spread across multiple regions, remote testing can help you gather diverse feedback without blowing your budget. But if your product targets a local market or a specific demographic, in-person testing might be the better choice.
Your timeline and budget also play a role. Remote testing is generally more cost-effective, as it eliminates travel and facility expenses. However, if you’re looking for deeper insights into user behavior, the added cost of in-person testing may be worth it.
Finally, assess your team’s tools and skills. Remote testing requires reliable technology and moderators who can effectively engage participants in a virtual setting. In-person testing, on the other hand, demands suitable spaces and an approach that makes participants feel at ease. Choose the format that aligns best with your team’s resources and expertise.
Conclusion: Master Moderated Usability Testing
To truly excel at moderated usability testing, it all starts with mastering five key steps. First, plan your testing session carefully - this sets the stage with clear goals and logistical details, ensuring the results you gather are reliable and actionable. Next, recruit the right participants - their feedback is only meaningful if they genuinely represent your target audience. Then, design realistic testing tasks that mimic real-world scenarios, helping you uncover usability issues that users might actually encounter. During the sessions, run them effectively, paying close attention to user behavior while guiding participants in a way that encourages honest and useful feedback. Finally, analyze and report your findings - this step turns raw data into actionable insights that can directly improve the user experience.
By combining these steps - planning, participant selection, task creation, session execution, and analysis - you create a process that drives user-centered design decisions. The payoff? Better user satisfaction and measurable business benefits, like fewer abandoned carts and higher conversion rates.
Moderated usability testing can be flexible, too. Whether you're conducting remote sessions to tap into a geographically diverse audience or hosting in-person tests for richer insights into user behavior, the fundamental principles remain the same. Tools like standardized scripts and session recordings help maintain objectivity and consistency throughout.
Becoming proficient in this approach takes practice and a willingness to keep learning. For those looking to deepen their expertise, DeveloperUX offers a Master Course on UX. This resource dives into advanced testing methodologies and tackles emerging challenges, such as designing internal tools and understanding AI's influence on user experience. Staying informed and up-to-date with these resources ensures your skills remain sharp and your methods effective.
At its core, moderated usability testing is about building trust and creating an environment where users feel comfortable sharing honest feedback. With regular practice and the right knowledge base, you can turn this feedback into meaningful design improvements, crafting products that are intuitive, effective, and truly user-friendly.
FAQs
How can I choose between remote and in-person moderated usability testing for my product?
Deciding whether to go with remote or in-person moderated usability testing comes down to what you’re trying to achieve, how much you can spend, and who your target users are.
Remote testing works best when your audience is spread out across different locations, your budget is tight, or you want to see how users interact with your product in their everyday settings. It’s also easier to schedule and can save a lot of time, making it a practical choice for many teams.
On the flip side, in-person testing allows you to pick up on subtle non-verbal details like body language and facial expressions, which can reveal deeper insights. It’s especially useful when you need hands-on interaction or are testing physical products that require participants to use them directly.
When deciding, weigh factors like your budget, logistical constraints, and the kind of feedback you need to get the most out of your testing efforts.
How can I effectively recruit the right participants for usability testing?
Recruiting the right participants for usability testing begins with a clear understanding of your target audience. Pin down the essential traits of your ideal users - think about their demographics, behaviors, and any specific needs tied to your product.
Once you know who you're looking for, it’s time to find them. You can tap into your existing customer base, share posts on social media or niche forums, or use specialized recruitment platforms. Offering small incentives - like gift cards or discounts - can also make participation more appealing.
The final step is screening. Make sure the participants you choose align with your criteria so their feedback will be meaningful and relevant. A well-matched group is the key to gathering insights that truly help improve your product.
How can I create usability testing tasks that reflect real-world user behavior?
To create tasks that genuinely reflect how users interact with your product, start by getting to know your audience and what they're trying to achieve. Dive into research to uncover the common situations and hurdles they face. The goal is to design tasks that match actual user behaviors, not ones that are overly simplified or far-fetched.
When putting together these tasks, clarity and precision are key. Steer clear of guiding users toward a specific answer - instead, phrase tasks in a way that promotes natural exploration. For instance, rather than instructing, "Locate the 'Contact Us' page", you might ask, "What steps would you take to reach customer support?" This method makes tasks feel more realistic and actionable, giving you better insights into how users truly engage with your product.